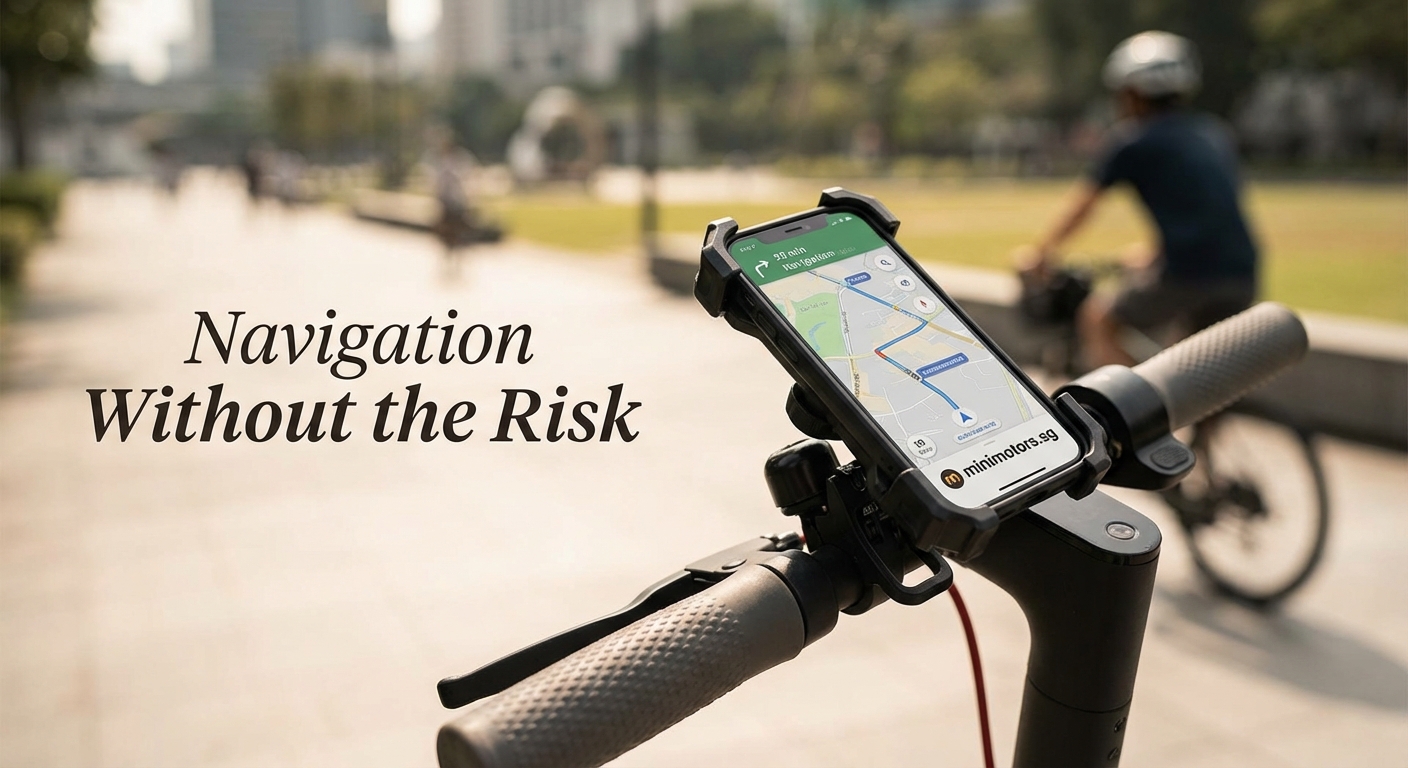
Best Phone Mounts for E-Scooters: Navigation Without the Risk
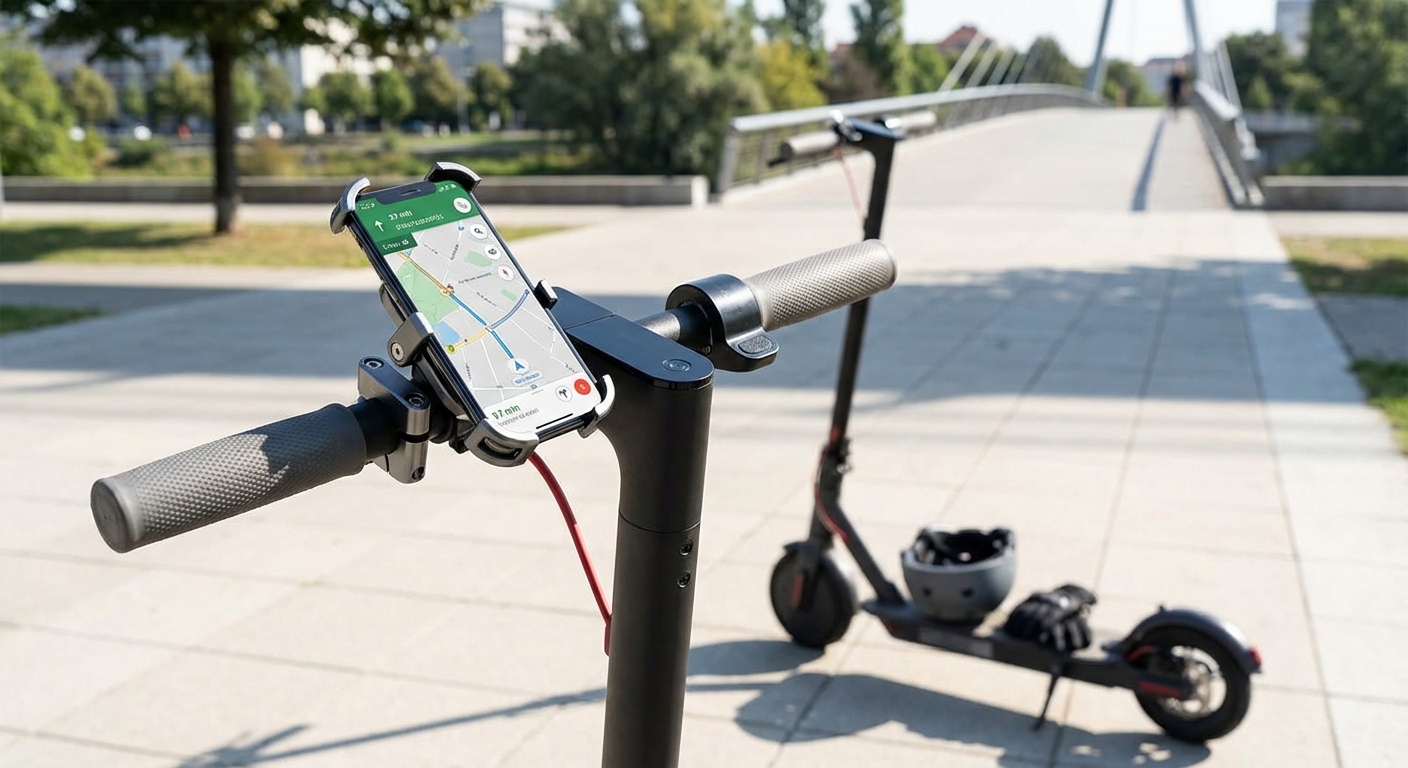
Mounting your phone to an e-scooter handlebar sounds simple until you hit your first pothole and watch your expensive device bounce around like a pinball. The right phone mount transforms your smartphone into a reliable navigation tool without the constant worry of damage or distraction.
Phone mounts for e-scooters need three core features: vibration dampening to protect your camera, secure grip systems that won’t fail mid-ride, and weather resistance for unexpected rain. The best mounts balance accessibility with protection, keeping your device visible for navigation while shielding it from impacts, moisture, and the constant vibration that can damage internal components over time.
Why Standard Phone Mounts Fail on E-Scooters
Car phone mounts look similar, but they’re built for completely different conditions.
E-scooters generate intense high-frequency vibrations that travel directly through the handlebars. These vibrations are particularly destructive to smartphone camera systems, which use delicate optical image stabilization mechanisms.
Your phone’s camera module contains tiny springs and magnetic components that keep images steady. Constant vibration causes these parts to wear out faster than normal use. Some riders report camera failures within weeks of using poorly designed mounts.
Road bumps create another challenge. A mount that works fine on smooth pavement becomes unreliable the moment you hit uneven surfaces. Your phone shouldn’t shift position or rotate when you cross railroad tracks or navigate broken asphalt.
Water resistance matters more than most riders expect. Even if you check the weather forecast, unexpected drizzle happens. A mount without weather sealing allows moisture to seep into connection points, potentially damaging both the mount and your device.
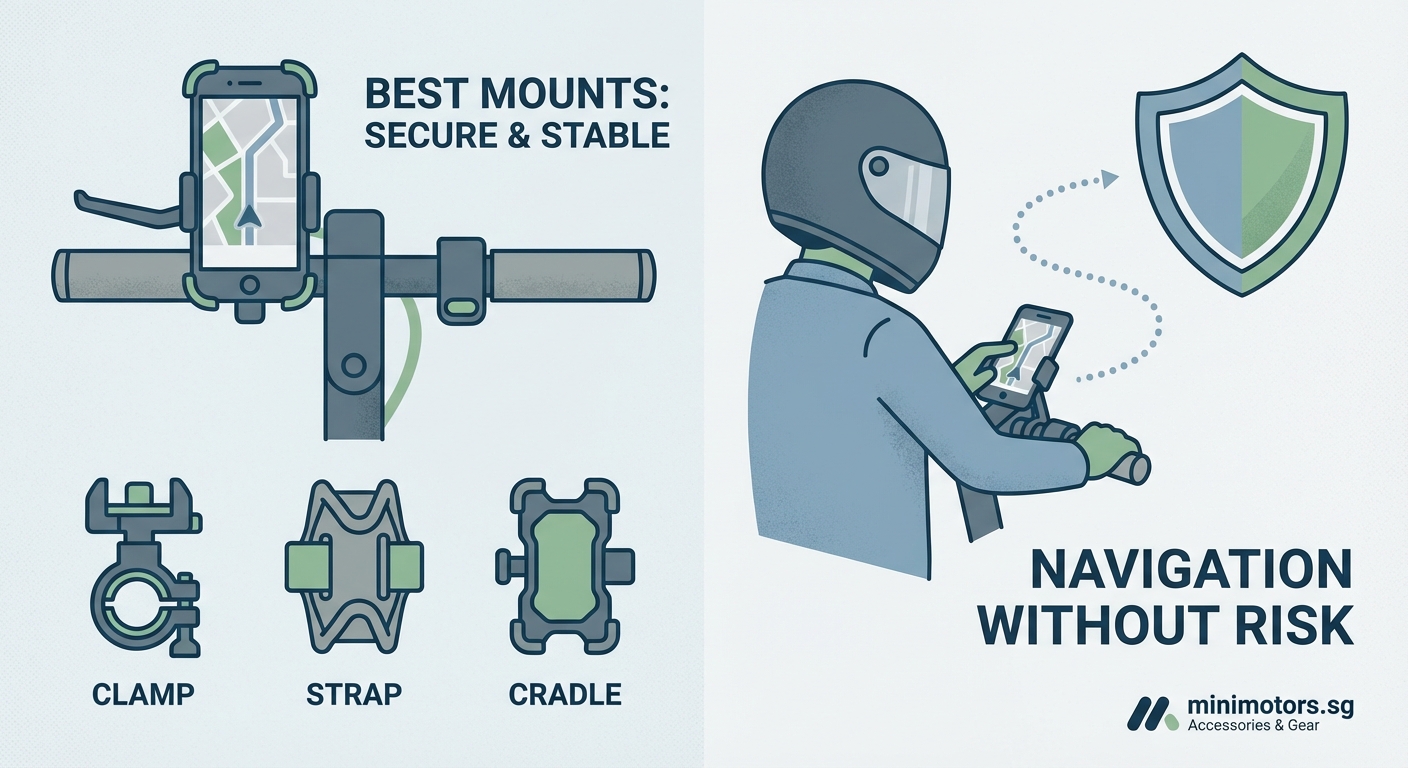
Understanding Mount Types and Their Trade-Offs
Different mounting systems offer distinct advantages depending on your riding style.
Clamp mounts use adjustable grips that squeeze your phone from the sides. They’re universal and work with most phone sizes, including cases. The downside is that side pressure can accidentally trigger volume buttons or power switches during bumpy rides.
Magnetic mounts attach a metal plate to your phone or case, then snap onto a magnetic base. They’re incredibly convenient for one-handed mounting and removal. The concern is that strong magnets might interfere with wireless charging or compass calibration, though modern mounts minimize this risk.
Case-specific mounts require a dedicated case that locks into the mounting system. Brands like Quad Lock pioneered this approach. You get the most secure connection possible, but you’re locked into using their case system.
Stem mounts attach to the vertical stem rather than handlebars. This position often provides better vibration isolation and keeps your phone closer to eye level. The trade-off is reduced accessibility when you need to interact with the screen.
The best phone mount isn’t the one with the most features. It’s the one you trust enough to stop checking every 30 seconds.
Installation Steps That Actually Matter
Getting your mount positioned correctly makes the difference between convenience and frustration.
- Clean the mounting surface thoroughly with rubbing alcohol before installation. Oil from your hands or existing dirt prevents secure adhesion.
- Position the mount so you can see the screen without moving your head more than 15 degrees downward. Any more creates a dangerous blind spot.
- Test the viewing angle in daylight and at night. Screen glare that’s invisible during evening installation becomes blinding in morning sun.
- Tighten all connection points more than feels necessary. Vibration loosens hardware over time, and you want margin for error.
- Do a parking lot test ride before committing to your first real commute. Shake the handlebars aggressively to simulate rough road conditions.
Check mount tightness before every ride. This takes five seconds and prevents the sickening moment when you realize your phone is no longer attached.
Features Worth Paying Extra For
Not all premium features justify their cost, but these do.
Vibration dampening systems use rubber isolators or spring mechanisms to absorb road shock before it reaches your phone. This single feature extends your camera’s lifespan and makes navigation easier to read while moving.
Tool-free adjustment lets you change the viewing angle without carrying an Allen wrench. You’ll adjust your mount more often than you think, especially when switching between day and night riding.
Wireless charging integration turns your mount into a power source. This matters for longer commutes where navigation drains your battery faster than expected. Make sure your e-scooter commute distance justifies the added cost.
Quick release mechanisms let you remove your phone in under two seconds. This matters when you park in public areas where theft is a concern.
Weatherproof covers protect your screen without blocking touch sensitivity. Look for covers that open easily when you need to interact with the phone but seal completely when closed.
Common Mistakes That Damage Your Phone
These errors seem minor until they cost you hundreds in repairs.
Mounting your phone in portrait orientation might seem natural, but landscape usually provides better stability. The wider base distributes stress more evenly across mounting points.
Using a mount designed for bicycles instead of e-scooters ignores the vibration difference. E-scooters with solid tires generate significantly more high-frequency vibration than pneumatic bicycle tires.
Leaving your phone mounted during storage exposes it to temperature extremes. Heat and cold cycles degrade battery health faster than normal use.
Ignoring case compatibility leads to unstable mounting. Some cases have textured backs that prevent secure grip. Others are too thick for clamp-style mounts to close properly.
Positioning the mount too far from the stem creates leverage that amplifies vibration. Every centimeter of distance multiplies the shaking your phone experiences.
Comparing Top Mount Technologies
| Mount Type | Vibration Control | Installation Time | Weather Resistance | Phone Accessibility |
|---|---|---|---|---|
| Clamp System | Moderate | 2 minutes | Good with cover | Excellent |
| Magnetic Plate | Low to Moderate | 5 minutes | Depends on design | Outstanding |
| Locking Case | Excellent | 10 minutes | Excellent | Good |
| Stem Mount | Very Good | 3 minutes | Good | Moderate |
| Adhesive Base | Poor | 15 minutes | Variable | Excellent |
The table shows why no single solution works for everyone. Your priority list determines the right choice.
Protecting Your Phone Beyond the Mount
The mount handles mechanical protection, but other risks need attention.
Screen protectors become essential equipment once you start mounting your phone. Even the best mounts can’t prevent every impact. Tempered glass protectors absorb shock that would otherwise crack your display.
Battery health degrades faster when your phone runs navigation apps in direct sunlight. The combination of processing heat and solar heating pushes temperatures into harmful ranges. Consider essential accessories that include sun shades.
Waterproof cases provide backup protection when weather turns unexpectedly. Even water-resistant phones can fail when rain enters through charging ports or speaker grilles.
Insurance specifically covering mounted devices costs less than you’d expect. Standard phone insurance often excludes damage that occurs while mounted to vehicles or e-scooters.
Testing Your Setup Before Trusting It
A proper shake-down ride reveals problems before they become disasters.
Start with a 10-minute ride on your normal route. Pay attention to how often you glance at the mount to check if your phone is still secure. If you’re checking more than once, your subconscious doesn’t trust the setup.
Deliberately ride over rough surfaces. Gravel, speed bumps, and potholes reveal mounting weaknesses that smooth pavement hides.
Test one-handed phone removal while stationary. You should be able to dismount your phone without looking down or using both hands. This skill matters when you need to answer a call or check a message.
Try the mount in light rain if possible. Water behavior reveals sealing problems that aren’t obvious in dry conditions.
Document your phone’s camera performance before and after a week of mounted riding. Take test photos and check for focus problems or image stabilization failures. Catching camera damage early sometimes allows warranty claims.
Maintenance That Extends Mount Lifespan
Regular care prevents the gradual failures that strand you with a loose mount.
- Clean mounting surfaces monthly with isopropyl alcohol
- Check all screws and clamps for tightness before long rides
- Replace rubber dampening components annually
- Lubricate moving parts with silicone spray, never oil-based products
- Inspect for stress cracks around connection points
Rubber components degrade from UV exposure even when you’re not riding. Store your scooter indoors when possible, or remove the mount between uses.
Alternative Solutions When Mounts Don’t Work
Some situations call for different approaches entirely.
Handlebar bags with transparent phone pockets provide protection without permanent mounting. This works well for casual riders who don’t need constant navigation access.
Wrist-mounted phone holders keep your device accessible without handlebar installation. They’re less convenient for navigation but eliminate vibration concerns completely.
Bluetooth earbuds with voice navigation remove the need to look at your screen constantly. You can keep your phone safely in a pocket while still receiving turn-by-turn directions.
Dedicated GPS devices designed for motorcycles handle vibration better than smartphones. They cost more upfront but eliminate the risk of damaging your primary communication device.
Seasonal Considerations for Year-Round Riders
Temperature extremes affect both mount materials and phone performance.
Winter cold makes rubber mounts brittle and reduces phone battery capacity. Your phone might show 60% charge indoors but die within minutes of cold exposure. Keep your device in an inner pocket until you need navigation.
Summer heat softens adhesives and can cause mounts to separate from handlebars. Check mounting security more frequently during hot weather. Consider weather protection strategies for extreme conditions.
Spring rain tests waterproofing more thoroughly than winter drizzle. Warm rain finds every unsealed gap and can cause water damage that cold rain doesn’t.
Fall leaves and debris can clog mount mechanisms. Clean your mount weekly during autumn to prevent buildup that interferes with phone insertion.
Smart Integration with Your E-Scooter Setup
Your phone mount works better when it coordinates with other accessories.
Position your mount to avoid interference with lights, bells, or other handlebar accessories. Crowded handlebars create fumbling during rides.
Consider safety equipment that includes reflective elements near your phone mount. This makes your device more visible to other road users at night.
Cable management matters if you’re using a charging mount. Loose cables catch on clothing or bags. Use zip ties or cable clips to secure power lines along the stem.
Mirror placement should complement phone position, not compete with it. You need clear sight lines to both navigation and traffic.
Legal and Safety Compliance
Some jurisdictions regulate phone use while riding, even when mounted.
Touching your phone screen while moving violates distracted driving laws in many areas. Set your navigation before you start riding, then rely on voice guidance.
Screen brightness regulations exist in some cities. Excessively bright screens can distract other road users, particularly at night.
Mounting height restrictions occasionally appear in local ordinances. Phones mounted above handlebar level might violate visibility requirements.
Check whether your area requires hands-free operation for all mobile devices, including mounted phones. Some laws make no distinction between handheld and mounted use.
Making Your Final Choice
Your perfect mount balances protection, convenience, and budget reality.
Riders who commute daily in varied weather need maximum protection and vibration dampening. The investment pays for itself by preventing a single phone replacement.
Casual riders who stick to smooth paths can use simpler mounts. Your risk profile doesn’t justify premium features you won’t use.
Phone value matters in the equation. Mounting a $1,200 flagship phone demands better protection than securing a $300 budget device.
Your comfort with technology affects which features you’ll actually use. Complicated quick-release mechanisms sit unused if they’re not intuitive.
Keeping Navigation Accessible Without the Risk
The right phone mount transforms your e-scooter from a simple vehicle into a connected navigation platform. You get turn-by-turn directions, real-time traffic updates, and emergency communication access without the constant worry of dropping your device or damaging its delicate internals.
Start with your specific needs rather than feature lists. The mount that works perfectly for your friend might fail on your handlebar setup or riding style. Test thoroughly before trusting it with your daily commute, and remember that the best mount is the one that makes you forget it’s there until you need it.