Mastering E-Scooter Braking Techniques for Emergency Situations
Learning to stop your electric scooter safely can mean the difference between a close call and a serious accident. Most riders focus on acceleration and speed, but proper braking is the skill that will save you when a car door swings open, a pedestrian steps out, or the light turns red faster than expected.
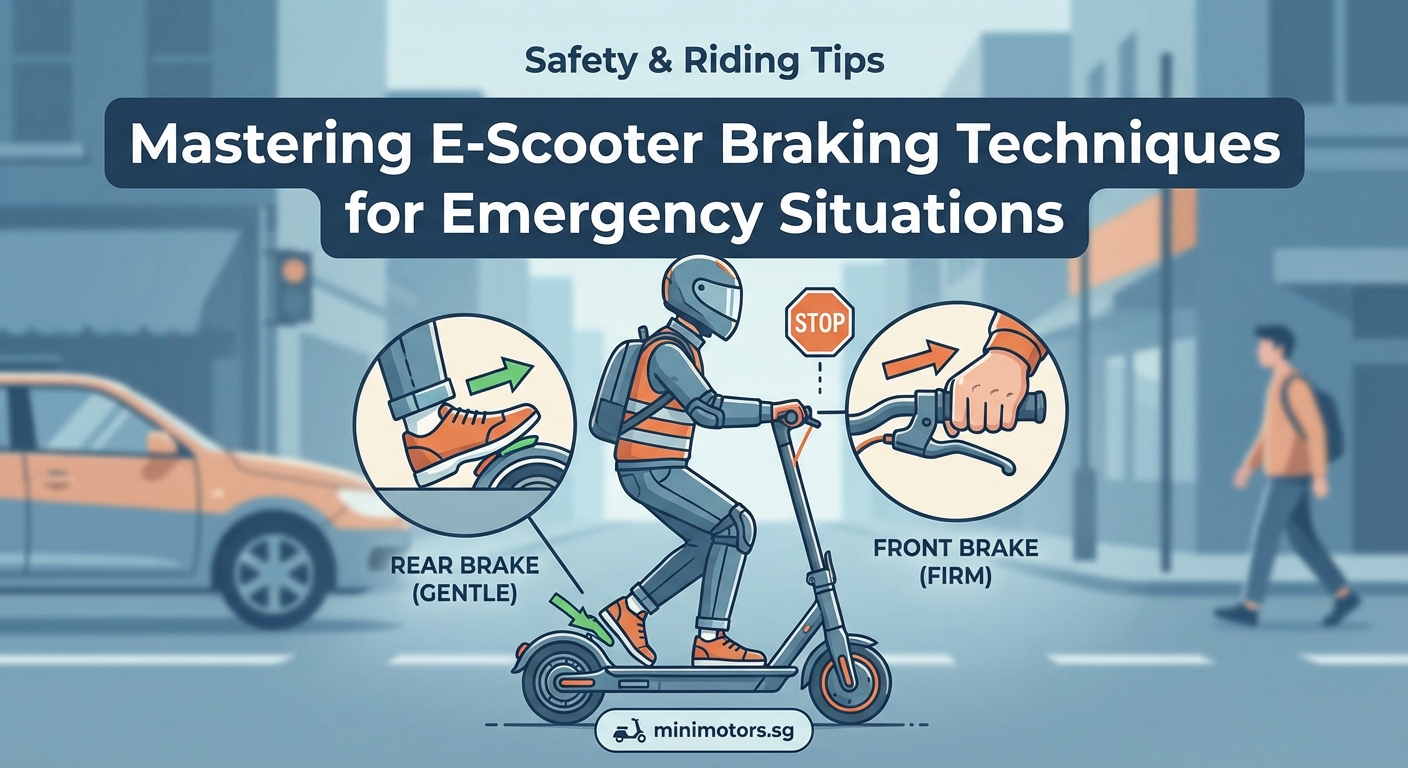
Mastering electric scooter braking techniques requires understanding brake types, weight distribution, and proper lever pressure. Apply 60-70% rear brake and 30-40% front brake for controlled stops. Practice progressive braking, avoid sudden grabs, and adjust your technique for wet surfaces. Emergency stops demand body positioning and both brakes working together. Regular brake maintenance ensures reliable stopping power when you need it most.
Understanding your brake system before you ride
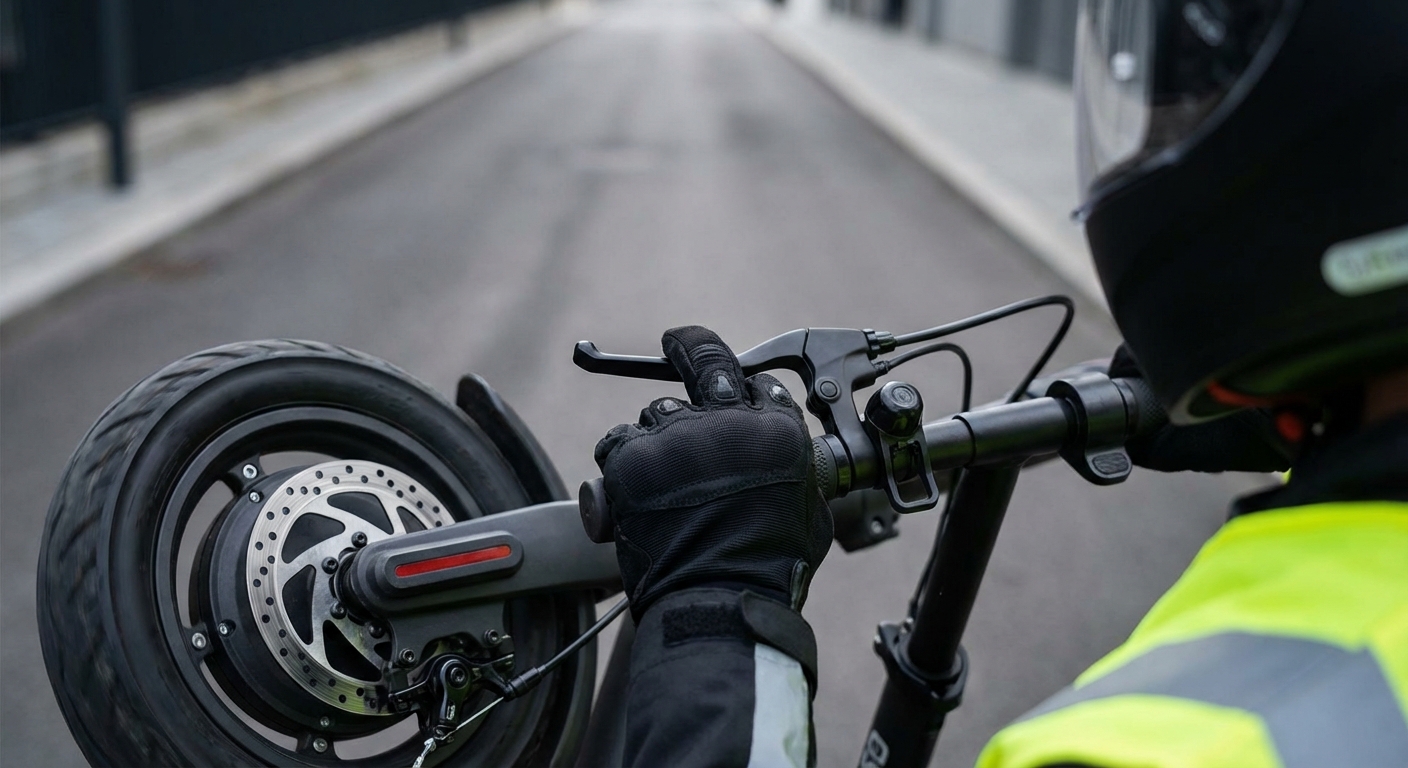
Most electric scooters use one of three braking systems: mechanical disc brakes, drum brakes, or electronic regenerative braking. Some models combine all three.
Disc brakes provide the strongest stopping power. They use calipers that squeeze a rotor attached to your wheel. You’ll find them on the front wheel of most mid-range and premium scooters.
Drum brakes sit inside the wheel hub. They’re less powerful than disc brakes but require almost no maintenance. Many scooters place drum brakes on the rear wheel.
Electronic brakes work through the motor itself. When you engage them, the motor reverses slightly, creating resistance. They’re smooth and silent but can’t stop you as fast as mechanical brakes in emergencies.
Knowing which system your scooter uses matters because each responds differently to pressure. If you’re still choosing your first ride, check out our guide on how to choose your first electric scooter to understand brake options better.
The 70-30 braking rule that keeps you upright
Your rear brake should do most of the work. Apply it first and harder than your front brake.
Here’s why: when you brake, your weight shifts forward. If you grab the front brake too hard while your weight is moving forward, the rear wheel lifts off the ground. That’s how you go over the handlebars.
The ideal brake distribution looks like this:
- Rear brake: 60-70% of total braking force
- Front brake: 30-40% of total braking force
Start with the rear brake, then add front brake pressure gradually. This keeps both wheels on the ground and gives you maximum control.
Practice this ratio in an empty parking lot. Roll at 10 mph, apply rear brake until you feel the scooter slow, then add gentle front brake pressure. You should stop smoothly without any wheel skidding.
Progressive braking versus panic stopping
Progressive braking means gradually increasing pressure on both levers. It’s the safest way to stop in most situations.
Here’s how to do it:
- Spot your stopping point early (at least 20-30 feet ahead)
- Begin with light rear brake pressure
- Smoothly increase rear brake force
- Add front brake pressure as you slow down
- Continue increasing pressure until you stop
This technique gives you time to adjust if something changes. A pedestrian moves, a pothole appears, or the surface is slicker than you thought.
Panic stopping is different. You need maximum braking power right now. In true emergencies, you’ll use both brakes hard and simultaneously, but your body position becomes critical.
For emergency stops:
- Shift your weight back and down
- Straighten your arms slightly
- Apply both brakes firmly (still favoring rear)
- Keep your body low and centered
- Be ready to release if wheels start skidding
The difference between these techniques matters. Use progressive braking 95% of the time. Save panic stops for real emergencies.
Common braking mistakes that cause accidents

New riders make the same errors repeatedly. Recognizing them helps you avoid crashes.
| Mistake | Why It’s Dangerous | Correct Technique |
|---|---|---|
| Front brake only | Causes front wheel lockup and flips | Use rear brake first, add front gradually |
| Braking in turns | Reduces traction when you need it most | Brake before the turn, coast through it |
| Looking down at brakes | Takes eyes off obstacles ahead | Keep eyes forward, know lever positions by feel |
| Locked wheels | Eliminates steering control | Pulse brakes to maintain wheel rotation |
| One finger braking | Insufficient stopping power | Use two fingers for better lever control |
| Wet weather same pressure | Doubles stopping distance | Start braking earlier, use gentler pressure |
That last point deserves extra attention. Wet surfaces change everything about braking.
Braking on wet and slippery surfaces
Rain cuts your traction in half. Sometimes more.
Water creates a thin layer between your tires and the pavement. Your brakes work fine, but your wheels can’t grip the road. This means longer stopping distances and easier skids.
Adjust your technique:
- Start braking twice as early as you would in dry conditions
- Use even lighter pressure on both levers
- Favor the rear brake even more (80-20 split)
- Avoid any sudden brake applications
- Test your brakes gently when you first encounter wet pavement
If you feel a wheel start to skid, release pressure immediately, then reapply more gently. A skidding wheel has almost zero stopping power and zero steering control.
Metal surfaces like manhole covers, painted crosswalks, and steel plates become ice rinks when wet. Spot them early and avoid braking on them entirely if possible.
For more wet weather riding strategies, read our article on how to ride an e-scooter in the rain without losing control.
Body position makes or breaks your stop
Your body isn’t just along for the ride. It’s part of your braking system.
Proper stopping stance:
- Knees slightly bent, not locked
- Weight centered between both feet
- Hips back slightly
- Arms bent at elbows
- Chest low and forward
- Eyes looking ahead at your stopping point
This position does three things. It lowers your center of gravity, making you more stable. It prepares you to shift weight backward if needed. And it keeps you balanced if you hit a bump while braking.
Bad stance looks like this: standing straight up, locked knees, arms fully extended, looking down at the ground. This position puts your weight too high and too far forward. Any sudden stop will send you flying.
“Most e-scooter accidents happen because riders don’t understand weight transfer during braking. Your body position determines whether you stop safely or end up on the pavement. Practice the correct stance until it becomes automatic.”
Downhill braking requires different thinking
Gravity works against you on descents. Your scooter wants to accelerate, and your brakes have to work harder to maintain control.
Never coast down a hill without touching your brakes. You’ll pick up speed faster than you expect, and at high speeds, emergency stops become nearly impossible.
Instead, use drag braking:
- Apply light, constant rear brake pressure
- Add front brake as needed to maintain safe speed
- Keep speed low enough that you could stop within your sight distance
- Never let the scooter accelerate beyond your comfort level
If your brakes start to feel soft or smell hot, you’re overheating them. Stop and let them cool. Overheated brakes lose effectiveness when you need them most.
Some scooters have regenerative braking that helps on hills. The motor resistance slows you down while charging the battery. But don’t rely on it alone. Always be ready with mechanical brakes.
Brake maintenance you can’t skip
Brakes don’t work if you don’t maintain them. Check these items weekly if you ride daily:
- Brake pads: Look for thickness. Replace when less than 2mm remains.
- Cable tension: Levers should engage halfway through their pull, not at the very end.
- Rotor condition: Check for warping, scoring, or contamination.
- Lever tightness: Make sure mounting bolts are secure.
- Hydraulic fluid: If you have hydraulic brakes, check reservoir levels monthly.
Squealing brakes usually mean contaminated pads or rotors. Spongy lever feel indicates air in hydraulic lines or stretched cables. Grinding sounds mean you’ve worn through the pad material and are damaging the rotor.
Don’t ignore warning signs. Brake failure causes serious accidents. Our ultimate e-scooter maintenance checklist covers all the details.
Practice drills that build muscle memory
Reading about braking helps. Practicing builds the reflexes you need when a car pulls out in front of you.
Set up these drills in an empty parking lot:
Drill 1: Controlled stops from various speeds
Accelerate to 10 mph. Apply progressive braking and stop within a marked zone. Repeat at 15 mph, then 20 mph. Notice how stopping distance increases with speed.
Drill 2: Emergency stop simulation
Ride at 15 mph. Have a friend call “STOP” randomly. Practice your emergency stop technique. Measure your stopping distance. Try to reduce it over multiple attempts.
Drill 3: One-handed braking
Ride slowly. Practice braking with only your dominant hand on the bars. This prepares you for situations where you need to signal or hold something.
Drill 4: Wet surface practice
Find a wet section of pavement (or create one with a hose). Practice gentle braking at low speeds. Feel how the scooter responds differently.
Do these drills monthly. Your brain needs repetition to make these techniques automatic.
How different brake types change your technique
The brake system on your scooter affects how you should use it.
Dual disc brakes (front and rear): These provide the most power and control. You can use more front brake than with other systems, moving toward a 50-50 split in dry conditions. But they require more maintenance and adjustment.
Disc front, drum rear: This is the most common setup. The front disc provides strong stopping power, while the rear drum offers consistent, low-maintenance braking. Stick with the 70-30 rule favoring the rear.
Electronic only: Some budget scooters use only motor braking. These systems are smooth but weak. Start braking very early. Consider adding a mechanical brake if your scooter allows it.
Regenerative plus mechanical: Premium scooters combine electronic braking with mechanical systems. The electronic brake engages first, then mechanical brakes add power. This setup gives you the longest range (regenerative braking charges the battery) and the best stopping power.
Want to understand these systems better? Read our breakdown of e-scooter braking systems.
Speed affects everything about stopping
Physics doesn’t care about your riding skills. Stopping distance increases exponentially with speed.
At 10 mph, you might stop in 10 feet. At 20 mph, you need 40 feet. That’s not double, it’s quadruple. At 25 mph, you might need 60-70 feet on dry pavement.
Wet conditions double these distances. Add in reaction time (the second or two before you even touch the brakes), and you can see why speed management matters more than braking technique.
Here’s the math that keeps you safe: you should always be able to stop within half your visible distance. If you can see 100 feet ahead, you should be able to stop in 50 feet. This gives you a buffer for unexpected obstacles.
Night riding cuts your visible distance significantly. Slow down accordingly. Our guide on night riding safety explains how visibility affects your safe speed.
Traffic situations that demand better braking
Certain scenarios require extra attention to your stopping technique.
Following cars: Maintain at least three seconds of following distance. At 20 mph, that’s about 90 feet. Cars can stop faster than scooters, so you need extra space.
Intersections: Approach every intersection ready to stop, even if you have the right of way. Cover your brakes (fingers on levers but not squeezing) so you can react instantly.
Bike lanes next to parked cars: Ride far enough from parked cars that an opening door won’t hit you. If someone opens a door in your path, you won’t have time for progressive braking. You’ll need an emergency stop or swerve.
Pedestrian areas: Ride at a speed where you can stop in two scooter-lengths. Pedestrians are unpredictable. Kids and dogs even more so.
Blind corners: Slow before the turn, not during it. You can’t brake effectively while turning, and you don’t know what’s around the corner.
Check out 7 common e-scooter accidents and how to avoid them for more scenario-specific advice.
When your brakes fail
Brake failure is rare but possible. Cables break. Hydraulic lines leak. Electronic systems glitch.
If you lose your brakes while riding:
- Stop accelerating immediately
- Drag your foot on the ground (only at low speeds)
- Look for uphill sections that will slow you naturally
- Use curbs or grass to create friction if needed
- Bail off the scooter if you’re heading toward serious danger
Prevention beats emergency response. Check your brakes before every ride. Squeeze each lever while standing still. They should feel firm and engage smoothly. If something feels wrong, don’t ride until you fix it.
Regular maintenance catches problems before they become failures. Inspect brake components during your weekly check, and replace worn parts immediately.
Building confidence through consistent practice
Braking skill isn’t something you learn once and forget. It’s a physical skill that requires practice and maintenance.
Start every ride with a brake check. Roll forward slowly and test both brakes individually, then together. This confirms they’re working and reminds your muscles of the proper technique.
Challenge yourself with new scenarios. Practice stopping on different surfaces: smooth asphalt, rough pavement, slight inclines. Each surface teaches you something about traction and control.
Pay attention to what works. After each ride, think about your stops. Which ones felt smooth? Which felt sketchy? What would you do differently next time?
Most importantly, don’t wait for an emergency to test your skills. The parking lot practice you do on Sunday morning might save you from a hospital visit on Monday’s commute.
Putting it all together for safer rides
Good braking technique isn’t complicated, but it requires attention and practice. Start with the basics: know your brake system, use the 70-30 rule, and keep your body positioned correctly. Add progressive braking for normal stops and proper emergency technique for true crises.
Adjust for conditions. Wet roads, steep hills, and high speeds all demand different approaches. Maintain your brakes weekly and practice your technique monthly. These habits build the muscle memory that keeps you safe when a split-second decision matters.
The confidence that comes from solid braking skills changes how you ride. You’ll feel more in control, take smarter risks, and enjoy your commute more. That’s worth a few hours of practice.