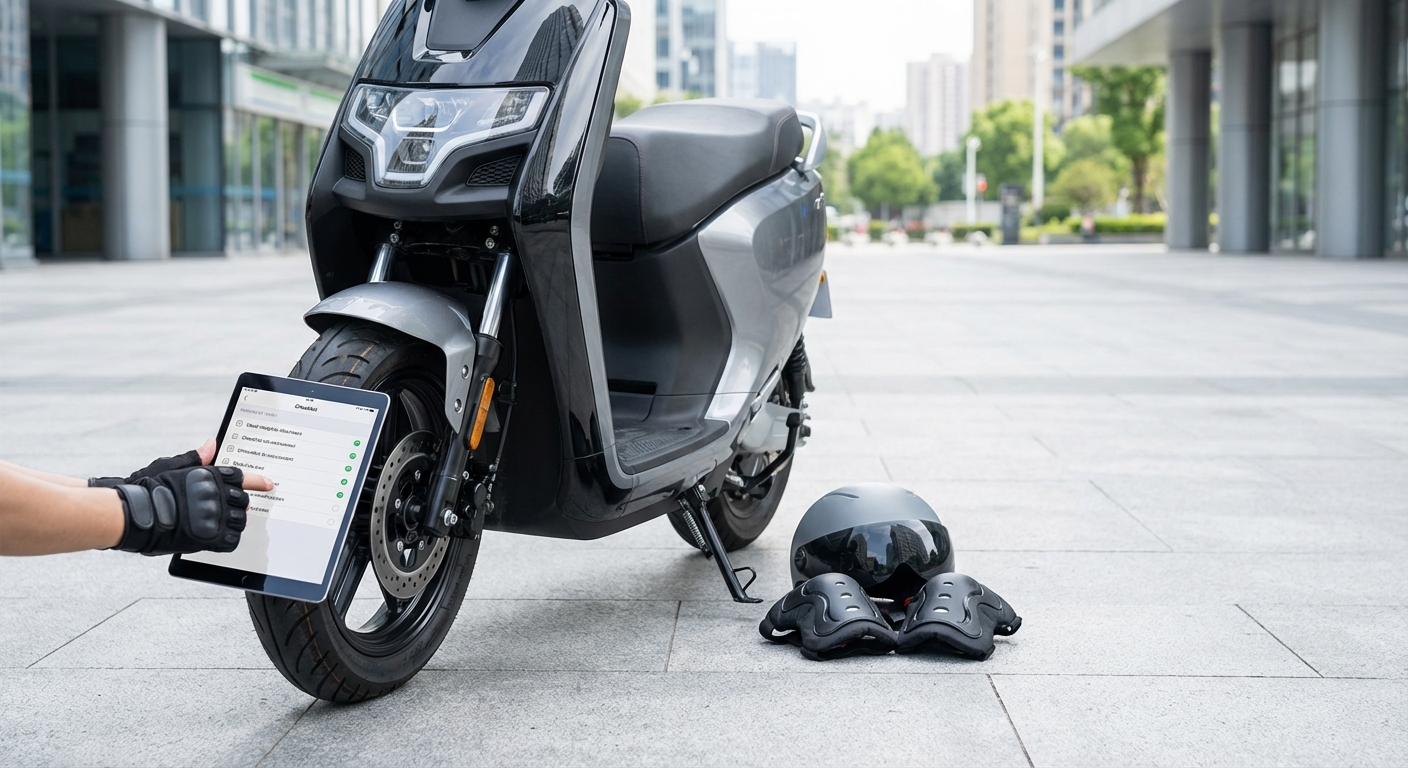
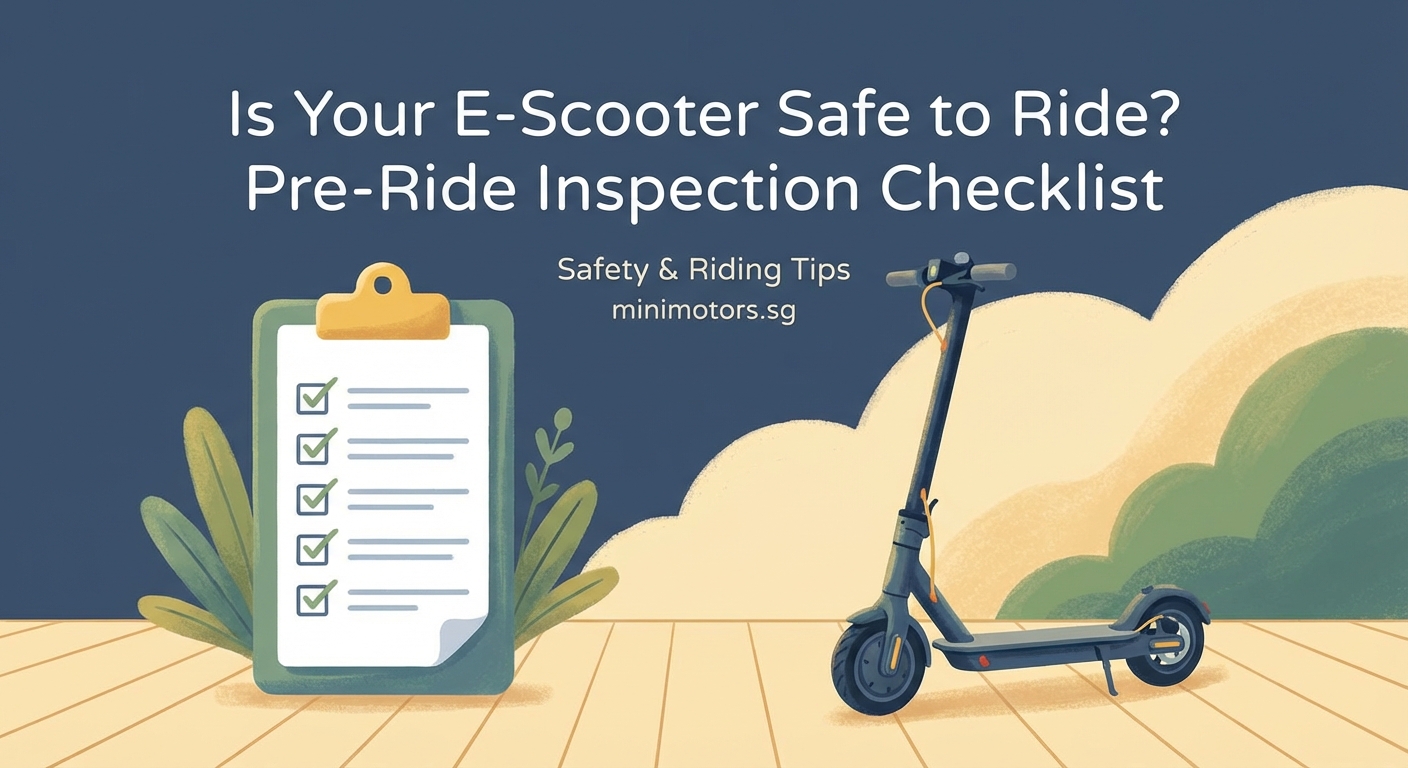
Is Your E-Scooter Safe to Ride? Pre-Ride Inspection Checklist
Accidents happen fast. Most e-scooter crashes could be prevented with a simple habit that takes less than two minutes. A proper pre ride inspection catches problems before they put you in danger. Whether you’re heading to work or running errands, these checks keep you rolling safely.
A thorough electric scooter pre ride inspection checklist covers tires, brakes, battery, lights, steering, and frame integrity. Performing these systematic checks before each ride takes under three minutes but prevents most mechanical failures and accidents. This routine protects both your safety and your scooter’s longevity, catching small issues before they become expensive repairs.
Why pre ride checks save lives and money
You wouldn’t drive a car without checking if the brakes work. Your e-scooter deserves the same respect.
A loose handlebar bolt can cause you to lose control at 15 mph. A low tire can blow out mid-commute. A failing brake can send you straight into traffic. These aren’t rare scenarios. They happen daily to riders who skip inspections.
The good news? Most problems announce themselves if you know where to look. A quick visual scan and a few simple tests catch 90% of potential failures. You’ll also extend your scooter’s lifespan by spotting wear patterns early.
If you’re new to e-scooters, our guide on 7 essential things every first-time e-scooter rider should know covers the fundamentals that complement these safety checks.
The complete pre ride inspection routine
Follow this sequence every time before you ride. It becomes muscle memory after a week.
1. Tire condition and pressure
Start at ground level. Your tires are your only contact with the road.
For pneumatic tires:
– Press your thumb firmly into the sidewall. It should feel firm with minimal give.
– Look for cuts, bulges, or embedded objects like glass or nails.
– Check tread depth. Smooth tires lose grip in wet conditions.
– Spin each wheel and watch for wobbles or flat spots.
For solid tires:
– Inspect for cracks or chunks missing from the rubber.
– Look for uneven wear patterns that suggest alignment issues.
Low tire pressure is the most common oversight. It reduces range, damages rims, and makes steering unpredictable. Proper pressure varies by model, but most pneumatic tires need 40-50 PSI. Check your manual.
Our article on 5 signs your e-scooter tires need replacement and how to change them goes deeper into tire maintenance.
2. Brake function test
Brakes fail gradually. Test them before they fail completely.
Visual inspection:
– Check brake pads for thickness. Replace when less than 2mm remains.
– Look at brake cables for fraying or rust.
– Inspect hydraulic lines for leaks or damage.
– Ensure brake calipers align properly with the disc or drum.
Function test:
– Roll the scooter forward slowly and apply the front brake. The wheel should lock immediately.
– Repeat with the rear brake.
– Test both brakes together. The scooter should stop within one foot at walking speed.
– Listen for grinding, squealing, or rubbing sounds that indicate worn components.
If your brakes feel spongy or require excessive lever travel, they need adjustment or bleeding. Don’t ride until you fix this.
For emergency situations, mastering e-scooter braking techniques for emergency situations teaches you how to stop safely when things go wrong.
3. Battery level and connections
Running out of power mid-ride is more than inconvenient. It’s dangerous if you’re in traffic.
Check these points:
– Verify battery charge shows at least 30% for your planned trip. Add buffer for hills and headwinds.
– Inspect the charging port for debris, corrosion, or damage.
– Ensure the battery is securely locked in place. Shake the scooter gently to confirm.
– Look for any swelling, discoloration, or unusual odors from the battery compartment.
A battery that drains faster than normal signals a problem. Track your range over several rides. Sudden drops in performance need investigation.
Battery care extends beyond pre ride checks. Read about 7 mistakes that are killing your e-scooter battery life to protect your investment.
4. Lights and visibility equipment
Other people need to see you. You need to see where you’re going.
Front and rear lights:
– Turn on all lights and verify they illuminate brightly.
– Check for flickering or dimming that suggests electrical issues.
– Clean lenses of dirt and grime that reduce visibility.
– Test light modes if your scooter has flash or pulse settings.
Reflectors:
– Ensure reflectors are clean and securely attached.
– Replace any that are cracked or missing.
– Add reflective tape to increase your visibility profile.
Even daytime rides benefit from running lights. Cars spot you earlier, giving them more time to react. For night commutes, night riding safety with essential visibility tips for e-scooter commuters covers additional precautions.
5. Steering and handlebar tightness
Loose handlebars cause most preventable crashes. This check takes 15 seconds.
Inspection steps:
1. Stand in front of the scooter and grip the front wheel between your knees.
2. Try to twist the handlebars left and right. They shouldn’t move independently of the wheel.
3. Check the folding mechanism if your scooter has one. It should lock firmly with no play.
4. Wiggle the grips to ensure they’re secure.
5. Test the throttle and brake levers for smooth operation without sticking.
Tighten any loose bolts immediately. Carry a multi-tool for quick adjustments. Most handlebar issues need just a quarter turn of an Allen key.
6. Frame and structural integrity
Cracks grow. Small damage becomes catastrophic failure.
Walk around inspection:
– Run your hands along the deck, feeling for cracks or sharp edges.
– Check welds for signs of stress or separation.
– Inspect the folding hinge for wear, cracks, or excessive play.
– Look at suspension components for leaks or damage.
– Verify the kickstand retracts fully and doesn’t drag.
Pay special attention to high-stress areas where the deck meets the stem and where the stem connects to the handlebars. These joints absorb the most force.
If you hear rattling or creaking during rides, why is my electric scooter making noise with troubleshooting common sounds helps diagnose the source.
7. Display and controls check
Your dashboard tells you what’s happening. Make sure it’s working.
Verify these functions:
– Power on the display and check for error codes.
– Test all riding modes if your scooter has multiple settings.
– Confirm speedometer and odometer readings appear normal.
– Check that the horn or bell produces adequate sound.
– Test any electronic locks or security features.
Modern e-scooters with app connectivity deserve a quick phone check too. Ensure Bluetooth pairs properly and the app shows correct diagnostics. Learn more about do smartphone apps really make e-scooters safer with a deep look into connected features.
Common inspection mistakes riders make
Even experienced riders fall into bad habits. Avoid these traps.
| Mistake | Why it’s dangerous | Better approach |
|---|---|---|
| Checking only when something feels wrong | Problems develop gradually and you miss early warning signs | Inspect before every ride regardless of how the scooter felt last time |
| Visual inspection only | Many issues aren’t visible until you touch or test components | Combine visual checks with physical tests like brake grabs and handlebar twists |
| Rushing through the process | You miss subtle problems that cause accidents | Set a two-minute timer and work through the full checklist methodically |
| Ignoring small issues | Minor problems cascade into major failures or accidents | Address every concern immediately or mark the scooter as unsafe until fixed |
| Skipping checks for short trips | Accidents happen on familiar routes and brief rides | Distance doesn’t matter for safety. Always inspect |
How weather affects your pre ride inspection

Different conditions require adjusted attention.
Rainy days:
– Check brake pads more carefully. Water reduces stopping power.
– Verify tire tread depth. Bald tires hydroplane easily.
– Test lights are especially bright and visible through rain.
– Inspect electrical connections for water intrusion.
For wet weather riding techniques, how to ride an e-scooter in the rain without losing control provides essential skills.
Hot summer days:
– Watch for tire pressure increases from heat expansion.
– Check battery temperature before riding. Overheated batteries lose capacity.
– Verify brake fluid levels haven’t dropped from evaporation.
Cold winter mornings:
– Test battery shows adequate charge. Cold reduces available power.
– Check tire pressure. Cold air contracts and lowers PSI.
– Verify brake cables haven’t frozen or stiffened.
If you’re storing your scooter between seasons, how to store your e-scooter battery during winter or long breaks prevents damage during downtime.
Building your personal inspection checklist
Not all scooters are identical. Customize these checks for your model.
Create a written checklist that includes:
1. Your scooter’s specific tire pressure requirements
2. Unique features like suspension settings or motor modes
3. Known weak points for your model based on owner forums
4. Manufacturer-recommended inspection intervals
5. Personal observations from past maintenance issues
Keep this list on your phone or laminate a card to carry with your scooter. New riders benefit from following the list item by item until the routine becomes automatic.
“I see riders every week who crash because they ignored basic maintenance. A pre ride inspection isn’t paranoia. It’s the minimum standard for responsible riding. If you wouldn’t put your kid on a scooter in that condition, don’t ride it yourself.” – Workshop technician with 8 years of e-scooter repair experience
When to skip your ride
Sometimes the answer is “don’t go.”
Red flags that mean no riding:
– Brake lever pulls all the way to the grip without stopping the wheel
– Tire pressure below 30 PSI or visible damage
– Battery swelling, leaking, or showing error codes
– Loose handlebars that won’t tighten
– Cracks in the frame, deck, or stem
– Missing or non-functional lights for night rides
– Strange noises that suggest mechanical failure
Call for alternative transportation. A $20 rideshare beats a $2,000 hospital bill.
For riders wondering about their scooter’s overall condition, the ultimate e-scooter maintenance checklist with daily, weekly, and monthly tasks provides a broader maintenance framework.
Advanced inspection techniques for experienced riders
Once basic checks become habit, add these deeper evaluations.
Monthly deep inspection:
– Remove wheels and inspect bearings for smooth rotation
– Check motor mounting bolts for proper torque
– Examine wiring harnesses for chafing or exposed conductors
– Test suspension travel and rebound
– Verify all fasteners remain tight throughout the frame
Tools worth carrying:
– Multi-tool with Allen keys in common sizes
– Tire pressure gauge
– Small flashlight for inspecting dark areas
– Zip ties for emergency repairs
– Spare brake pads if you ride daily
Understanding your scooter’s systems helps you catch problems earlier. Our guide on understanding e-scooter braking systems with disc, drum, and electronic explained deepens your mechanical knowledge.
Teaching others to inspect properly
Safety spreads when you share knowledge.
If you’re helping a new rider learn inspection routines:
– Demonstrate each check yourself first
– Explain why each step matters with real examples
– Watch them perform the full routine three times
– Create a simple checklist they can reference
– Follow up after a week to ensure they’re maintaining the habit
Family members who borrow your scooter need this training too. Make inspection a house rule before anyone rides.
Staying safe means staying consistent
Two minutes of inspection prevents hours of hospital waiting rooms. That’s the calculation.
Your electric scooter pre ride inspection checklist doesn’t need to be complicated. It needs to be consistent. Build the habit now while you’re motivated. Future you will be grateful when that habit catches a failing brake before you need it in an emergency.
Start tomorrow morning. Walk through each check slowly. Time yourself. You’ll find it takes less time than scrolling social media while your coffee cools. That’s a trade worth making for every ride ahead.